3.3TT - Agency Power Intercooler-DIY GUIDE- READY FOR PURCHASE

NICK_KHAR

Authorized Vendor
Joined
Jul 24, 2018
Messages
434
Reaction score
405
Points
68
Location
Southern California
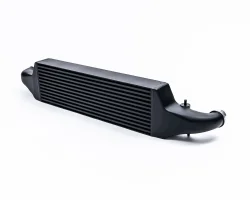
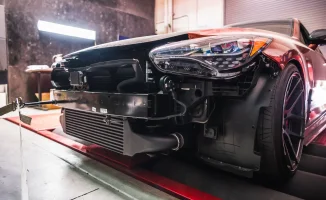
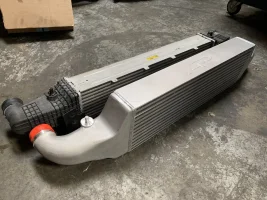
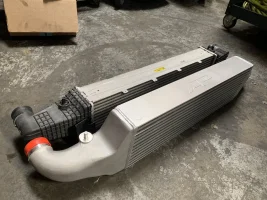
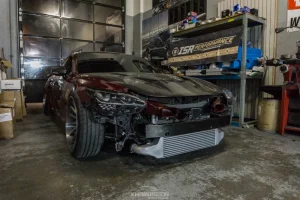
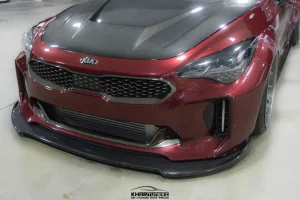
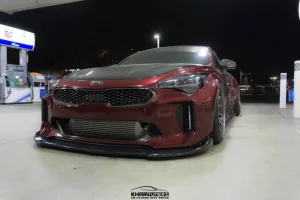
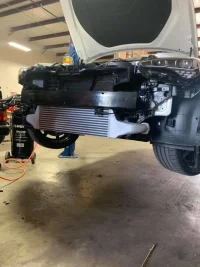
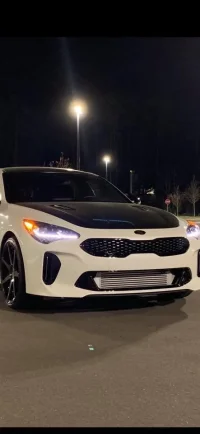
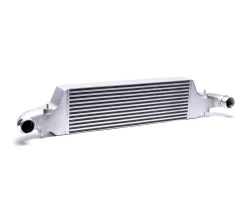
The all new replacement intercooler by Agency Power is now ready for purchase

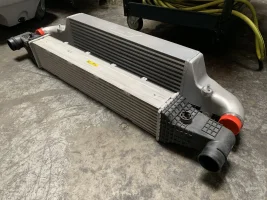
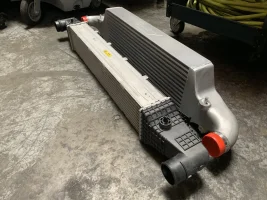
Nearly twice as thick as the OEM core and greater fin density
say good bye to heatsoak

This is a simple step by step to assist the DIYers
Any questions please feel free

PURCHASE LINK

Agency Power Intercooler Upgrade 2017+ Kia Stinger GT

PURCHASE LINK


Now the Step by Step
Thanks to Agency Power for the opportunity

Intercooler_kia_stinger-6.webp KiaStinger_Intercooler-3.webp KIA_Stinger_Intercooler-4.webp
 
This Install Guide is intended to help with the installation of the Agency Power Cold Intercooler Upgrade on the 2018 – 2019 Kia Stinger GT with 3.3L TT V6.

KiaStinger_Intercooler-1.jpg


3of5-e1536604850498.png


Remove bumper by removing bolts from inside engine bay on each side.

AP-STK-108_Install_2.jpg


Remove the 2 bolts holding bumper in place to fender liner on each side.

AP-STK-108_Install_3.jpg
AP-STK-108_Install_4.jpg


Unbolt and clip splash shield to bumper.

AP-STK-108_Install_5.jpg
AP-STK-108_Install_6.jpg


Carefully remove bumper and unclip sensor harnesses that are attached.

AP-STK-108_Install_7.jpg
AP-STK-108_Install_8.jpg


Loosen clamp on passenger side and remove tube from intercooler.

AP-STK-108_Install_9.jpg


Driver side has a clip style connector. Unclip to remove intercooler and tube.

AP-STK-108_Install_10.jpg


With those loose locate the upper intercooler supports. Remove bolt and nut to allow bracket to be removed. Repeat on driver and passenger side.

AP-STK-108_Install_11.jpg


With brackets unbolted remove intercooler by pulling up.

AP-STK-108_Install_13.jpg
AP-STK-108_Install_12.jpg


With intercooler removed transfer bushings to new intercooler.

AP-STK-108_Install_14.jpg


Place new Agency Power intercooler into lower bushing and start the rebolting upper bracket in place but leave loose until tubes are re-installed.

AP-STK-108_Install_18.jpg
AP-STK-108_Install_17.jpg


Reuse the factory clamp and tighten on tube.

AP-STK-108_Install_15.jpg


Push driver side in place till clips into place. Tighten upper bushing mounts and re-install bumper.

AP-STK-108_Install_16.jpg
KIA_Stinger_Intercooler-2.jpg
 
Hi,

where the hell are all these people getting tow hooks? I can't find a single one.
 
______________________________
Hi,

where the hell are all these people getting tow hooks? I can't find a single one.
Should be in the styro 'case' under the rear cargo floor, just over the spare tire.
 
From interior to exterior to high performance - everything you need for your Stinger awaits you...
Color me interested: it's the mild intercooler upgrade I've been looking for...

Now we just need some dyno runs demonstrating IAT differences between the stock and this intercooler...

Also, a weight comparison and side-by-side photos showing thickness differences would be great!

Might just be my next purchase if it's weight is negligibly higher than the stock one (the car is already 52/48, so I'm resistant to adding more weight to the front).
 
My well calibrated arm says about 8 lbs
The oem core is fairly light (plastic endtanks)
while the Agency Powers cast endtanks are beefy

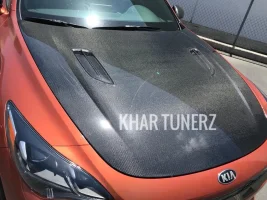
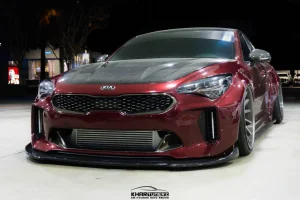
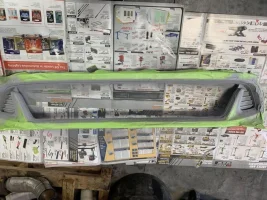
Damn, now I gotta consider a CF hood... Anyone working on something that looks like stock but instead of molding the fake air vents as sadly fake air vents, one that makes them real air vents? :whistle:
 
______________________________
From interior to exterior to high performance - everything you need for your Stinger awaits you...
I've seen pictures of it, it doesn't look open...? Got a pic of the vent itself (topside and underside)?
I was the test vehicle for the hood as well top is open (top vent is a metal mesh)

Underside however is not cut open so you cut cut open the underside and have a functional vent
But as it is its a open non functional vent

Not the greatest photo but I agree they should have had a fully functional vent
 

Attachments

  • IMG_5983.webp
    IMG_5983.webp
    172.2 KB · Views: 34
I was the test vehicle for the hood as well top is open (top vent is a metal mesh)

Underside however is not cut open so you cut cut open the underside and have a functional vent
But as it is its a open non functional vent

Not the greatest photo but I agree they should have had a fully functional vent

... Soooo, it IS a fake vent unless I modify it, lol

Any chance there's enough interest in the hood that they could be open to that suggestion? Hell, they don't even have to worry about the water/drain channeling. As long as the molding is open, I can easily Gorilla glue up a tiny drain pan with a tiny hose sealed to it and channel it down the side of the hood.

Or in short: I don't want to cut CF o_O
 
So no documentation for air temp drops, horsepower, etc.?
 
From interior to exterior to high performance - everything you need for your Stinger awaits you...
Does the mesh part just come out? or does it need to be cut out?
 
From interior to exterior to high performance - everything you need for your Stinger awaits you...
Back
Top