US 22 GT2 AWD left and right install
First things first: I only needed to install the left and right lights. They are simply plug and play. No warning lights.
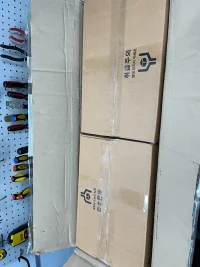
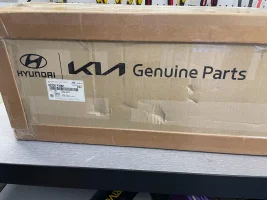
Ordered from Tuscani Motors: packaging was top notch. These things would have survived a drop from the Eiffel Tower. Received a photo and tracking number of the items 2 days after ordering. Ordered 16 Nov. Arrived 28 Nov.
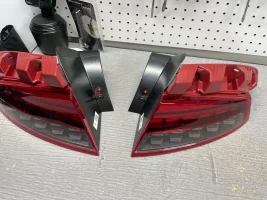
The new lights come with the black plastic covers installed. Do not remove them.
Tools needed for REMOVAL: 10mm socket, 10 mm ratchet wrench, plastic trim removal tool
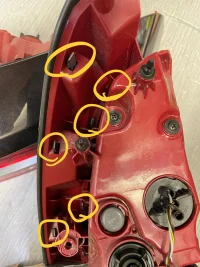
- Using the plastic trim tool remove the black plastic cover starting from top to bottom.
note: there’s a small access “door for the socket bolt”. No need to open this at this point. That’s for installation purposes.
2. Use 10mm socket to remove easy bolt. Use ratchet wrench to remove screw inside the light that attaches to the car. Remove light fixture and pinch to unplug.
Tools needed for INSTALL to the car: just a 10mm socket
- Plug it in to the electrical
- Just slide the light in and test the hazards, left and right signals
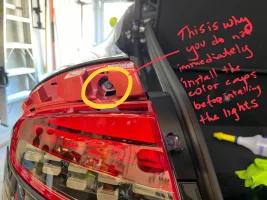
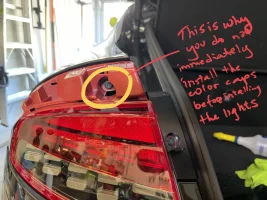
- Use the socket to reinstall the 2 screws for each light. At this point the lights are installed WITHOUT the color caps. DO NOT IMMEDIATELY INSTALL COLOR CAPS FROM THE ORIGINAL LIGHTS ON TO THE NEW LIGHTS. THIS WILL MAKE YOUR LIFE DIFFICULT!! As you can see from one of the attached pics both bolts are accessible from the rear with the 10mm socket.
Up to this point took me just 12 minutes
4. Remove the color caps from the original lights and slide them on to the old lights. job Done.
This is by far the hardest part. How you decide to do it is up to you. I started with the 3 bottom tabs. On the first one after those 3 were released it simply fell into my hands unexpectedly. The second one I tried the same technique, but still had to remove the top ones. So good luck. Not easy, it will take patience.
Total time was just over and hr.