Killa200
Active Member
- Joined
- Mar 15, 2018
- Messages
- 129
- Reaction score
- 114
- Points
- 43
Wish I had taken a few picture of the entire install, but by the time I finished up installing this I was too frustrated to get pictures of the car dismantled. For anyone wanting to do this though, I come with tips:
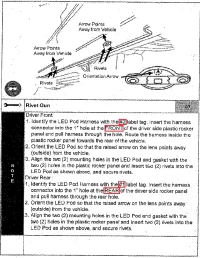
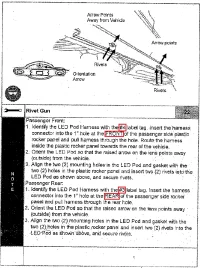
A) The puddle lights come with with individual length affixed cables for each light, and they are going to be "just enough" slack to do the job. How do I know, well the instructions of course! How else do I know you ask?........
B) DO NOT RIVET THE LIGHTS IN PLACE UNTIL LAST! I followed the instructions to a T (the lights are labeled 1 through 4) and it turns out the instructions had the fronts and rears BACKWARDS, which left me with tons of slack on the two wire sets for the fronts, barely enough for the passenger rear, and NOT ENOUGH for the drivers rear. I checked 3 separate times that I had the numbering right knowing they were custom, and I should have waited till the end to use the included rivets (They are a one time plastic crush rivet). Instead of drilling them out and trying for an aluminum rivet on plastic to plastic, I wound up extending the wiring for the one light.
C) Lift door sill trim STRAIGHT UP! Not sideways, not from multiple directions, not ever! There is three metal clips in the trim piece, but also two molded snap clips that attach the trim to the kick panels / b pillars as well as hooks that slide into the kick panels / b pillars. That hooks will break if you don't come straight up with the door trim.
D) The suggested mounting spot for the light module sucks! I'm fairly sure if you do get the pods in the right order you can still do what I wound up doing, which was locating the module directly behind and slightly above the fuse panel instead of the suggested body wall mount just under the front of the fuse panel. Plus if for some reason you need to remove the fuse panel harnesses (remote start anyone?) it will be in the way with the manual's suggested location.
E) Get ready to remove some panels! In total, I removed: Driver's and Passenger's front and rear door sill trim, Driver's and Passenger's Lower and Upper B-Pillar trim, Drivers and Passenger's Front Kick Panels, Driver's lower dash panel, Driver's LH end dash cover, Driver's A-Pillar trim (PLEASE be careful about not stabbing your curtain airbag!) and most of the Driver's and Passenger's rocker cover clips under the car. You will break the clips on the rocker covers and the A-Pillar's safety release clip, and new ones are included due to that.
F) That yellow wire the manual says to be careful with because it is small? IT IS. Small enough so that if you opt for using the included t-taps, that you will need to pre-strip the wire to use them, as they won't pierce the insulation. I wasn't planning on using the taps (I hate them), but hours later and a very tightly bundled 32 wire harness right up against and airbag and windshield makes you think twice about soldering.
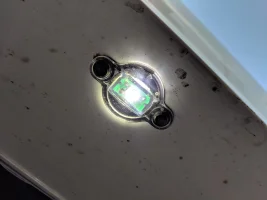
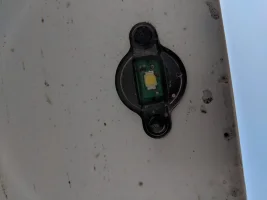
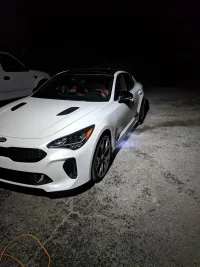
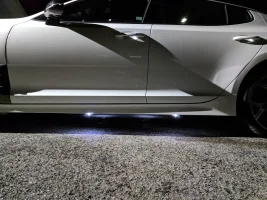
Either way, all is done and I love the final product, and hopefully those who want to do it will as well: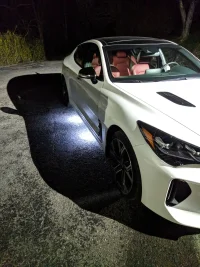


