TigerGT64
Member
Does it exist in Aus GT. If so i cant see it or find it or am i missing something. Can anyone assist/confirm
cheers
cheers

Saw a thread somewhere on the forum about ambient lighting and what is required, can't remember where , it was a while ago. The search area mind find it?Doesn’t come with it, we got 360 camera instead, but I do wonder if it’s installed but needs the be powered up.

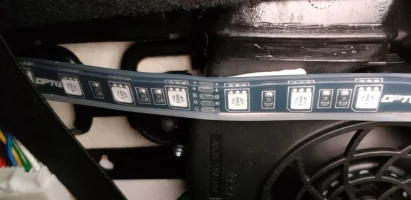

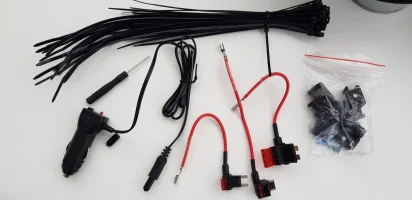
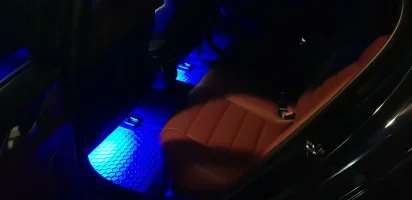
Nice job, red LED looks good with that RNL interior.I'm glad to see that the MY19 update has added ambient colour lighting in OZ. Having an MY18 build I found a nice aftermarket solution with the Aura OPT7 interior LED strip kit available on Amazon and eBay. I purchased mine from Ubuy who very quickly delivered it from the U.S via DHL in just over a week.
View attachment 17295
I highly recommend this product to all Stinger owners that do not have interior ambient LED lighting as standard. Finding suitable locations for the 4 LED strips was easy with no need to use any of the mounting clips or cable ties so the kit can be removed at anytime without any screw holes being left behind and the car 100% original.
The front seats each have 2 elastic straps securing the carpet lining that wraps under the back of the seat and the rear LED strips tucked under this elastic neatly, I just used an inch of double sided tape to stop the middle section of the light strip from sagging. The front LEDs stick directly under the dash using the double sided 3M film already on the back of the strip, just make sure to use the supplied alcohol wipe to prep the area before adhesion.
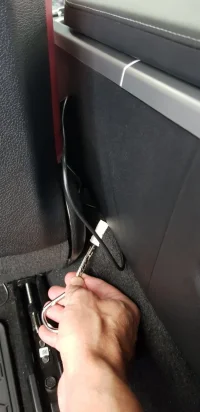
The wiring from the rear LEDs can be tucked under the plastic trim that runs down each side of the centre console (you will just need to gradually move the seat to get access as you conceal the cable) and both left side LEDs wiring can be fed under the dash and over the transmission tunnel to the the lighting control box that I tucked up inside the dash behind the steering wheel.
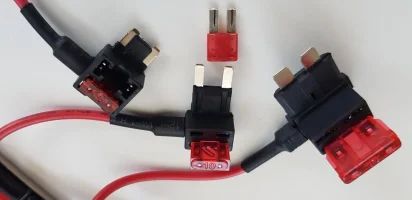
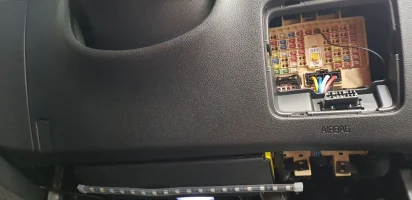
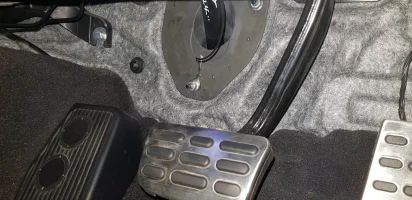
The kit is supplied with three different size fuse box adaptors all of which are too big for the fuse type used in the Stinger so the control box positive power wire needs to have the adaptor plug on the end cut off and the insulation stripped to expose about an inch of bare wire to wrap around the ""cluster" fuse pins (see fuse map on the back of the fuse box cover) and reinserted. You will need to pull apart / separate the ground wire from the positive wire end here so it can reach down to be secured to the bolt behind the brake pedal.
The system will then work when the car accessories are turned on an off so you cant accidentally leave the LED lights on. So many light colour options and the music sync mode works well with any music with a distinct bass beat.
With this information installation should take less than 1 hour.

