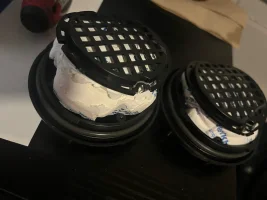
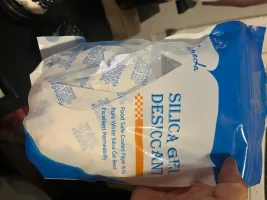
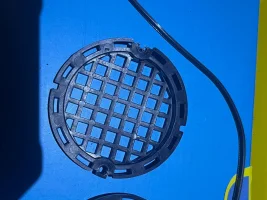
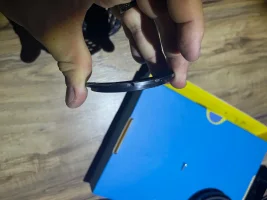
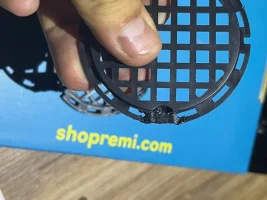
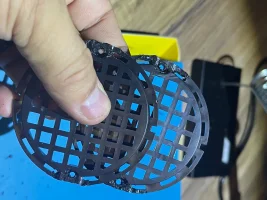
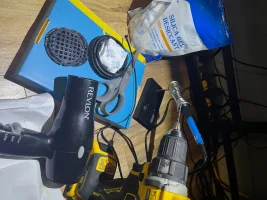
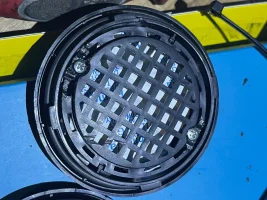
Wow... So Kia won't replace mine under warranty. And the TSB according to them is just a "How To" and not a "Warranty Recall" so they want to charge me to have them replaced... After reading the TSB, I realized this is a very easy fix so I decided to DIY. Then I realized the stupid plastic pieces and moisture packs are like $50 + Tax + Shipping $75-$80 for some stupid plastic brackets and moisture packs you can find on Amazon for a few bucks... Thus, My Asian side decided to just repair the brackets and buy some alternate Desiccant packs and DIY it all! Whole process including removal of the damaged brackets/packs, plastic welding the brackets, heat and reshape of brackets, and installation of new packs, and reassembly was just around 1 hour. I used a soldering iron and a large black Zip tie to weld the bracket tabs, a hair dryer to heat up and reshape the brackets until they were semi "Flat" again, and a simple drill bit to remake the screw holes. They fit like a glove, and bam my headlamps are moving again! For any of you that are DIY savvy, and you've got a soldering iron laying around, I've attached a few pics showing the process and how it turned out. Of course you can always buy the parts and do it that way, but this was fun for me and I enjoy tinkering on things myself.